
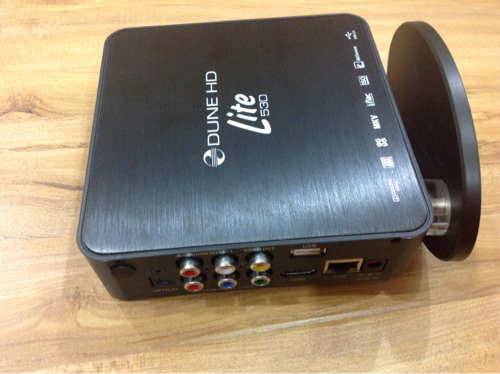
This is going to be a basic guide, mainly to give an oversight of whats inside the hood & quick overview of configuring the system storage. Hopefully it'll help you people who were confused like me , to decide if this dune is for you or not.
- the inside is quite easy to guess. So just mount the HDD with the M3 sized screws provided at the cover's back. There is plastic film there presumably to protect the HDD's backside. 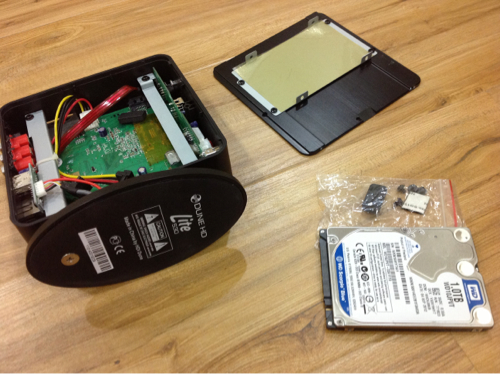
- connect the SATA and power cables and fit it back in

Before i start - i should say you basically dont need to do the steps i'm about to explain in this post, the dune hd media player will run out of the box, if you are looking for a simple plug and play device.
I however opted to install an internal HDD for several reasons:
1. I dont have enough storage elsewhere to host the kind of volume these movies and videos are going to accumulate
2. I hated how uncool the dangling external HDD looked on my shelves - kinda defeats the purpose having a small media player
3. When you disconnect and reconnect the external HDD, it doesnt always remember the same volume name. Which is not an issue if you dont intend to use a collection application like zappiti or dune movie. In my case- going through movie titles without some kind of visuals is just not gonna cut it for me
4. Without an internal HDD, I will need to stick an empty USB stick permanently there to store the system storage files ( again, if u intend to use zappiti, u'll need this).
What you will need is just a 2.5" HDD - maximum 2 TB, according to the documentations. I bought a 1TB, so I cant tell you what will happen if u stick a higher capacity disk. It is also recommended to buy the green version so that you can keep temp lower, and also keep the rpm low. Apparently there will be issues if you use higher rpms like 7200. Note: You should also know that the Dune gets a bit heaty when left even at standby mode.
Ok. Now, here are images i captured and basic steps just to show whats inside the hood n installing the hdd.
- unscrew the two tiny screws at the sides, and lift the cover (the sides with the writings like below)
Once the HDD installed, you will automatically see it on the screen
Will continue tomorrow with part 2 - to configure the HDD, and installing system storage. Stay tuned.

